Tip
Chinese version: Click here
Preparation
Mostly, we config our Steam Deck in Desktop Mode, so I highly recommend you connect your device with a USB Hub , then connect your mouse and keyboard . Bluetooth keyboard and mouse are also good.
If you don’t have external mouse and keyboard besides you, just use the buttons.
This is a part of key mappings.
| Button | Desktop |
|---|---|
R2 | Mouse Left Click |
L2 | Mouse Right Click |
Right Touchpad | Mouse Move |
STEAM + X | Call Keyboard |
By this way, you can directly control your device in Desktop Mode, but it’s a little bit inconvenient.
If you feel hard to operate Deck using buttons, you may enable Remote Desktop. See: Enable Remote Desktop.
Environment
Do it first
Add password to current user
In Desktop Mode, open Konsole, and add a password to current user, for sudo use.
passwd

# New password:
# Your input will not appear, please make sure your input is correct, then push ENTER.
Disable steamdeck-readonly
Note
You may need to re-run the following commands after system update.
# disable
sudo steamos-readonly disable

# enable(if you want to enable it again after config.)
sudo steamos-readonly enable
Recommended Options
Change Desktop Mode Language
You can choose your language in Desktop Mode, follow the guide in KDE UserBase Wiki: https://userbase.kde.org/Tutorials/Change_Plasma_Language
Config Flatpak
For most users, you can skip this part. This part is for users who have trouble searching apps in Discover, mainly for users in China.
If your Discover searching has no response, please change the remote mirror.
# This will overwrite the official mirror link.
sudo flatpak remote-modify flathub --url=https://mirror.sjtu.edu.cn/flathub

# If you don't want to overwrite, you can add a mirror link.
sudo flatpak remote-add flathub https://mirror.sjtu.edu.cn/flathub/flathub.flatpakrepo
Install a browser
Some plugins may depend on browser to setup, so a browser is needed. You can install any browser you are favorite. Directly install it through Discover.
Enable Remote Desktop
Steam Deck uses KDE Plasma desktop, we can use krfb to start a remote desktop service.
We need to install krfb on Deck, then we can use VNC protocol to remote connect our device in Desktop Mode.
sudo pacman -Sy krfbIf you can't install pacman packages because of unknown trust, please do:
Note
You may need to re-run the following commands after system update.
# Step 1
sudo pacman-key --init

# Step 2
sudo pacman-key --populate archlinux
sudo pacman-key --populate holo
Then, re-run your command.
Now you can use your VNC Client to connect to the Deck. Default port: 5900.
VNC Client
For Windows users, VNC Viewer is an option.
The app in the picture below is Royal TSX.
Customizations
AUR
If you want to install AUR(Arch User Repository) packages, please install an AUR helper.
base-devel is needed in most cases.
# Install base-devel
sudo pacman -S base-devel

# Install AUR helper
sudo pacman -Sy paru
# or
sudo pacman -Sy yay
# etc...
Localsend
Wirelessly transfer files in local network.
AUR helper is required!!!
paru -Sy localsend-bin
# or yay -Sy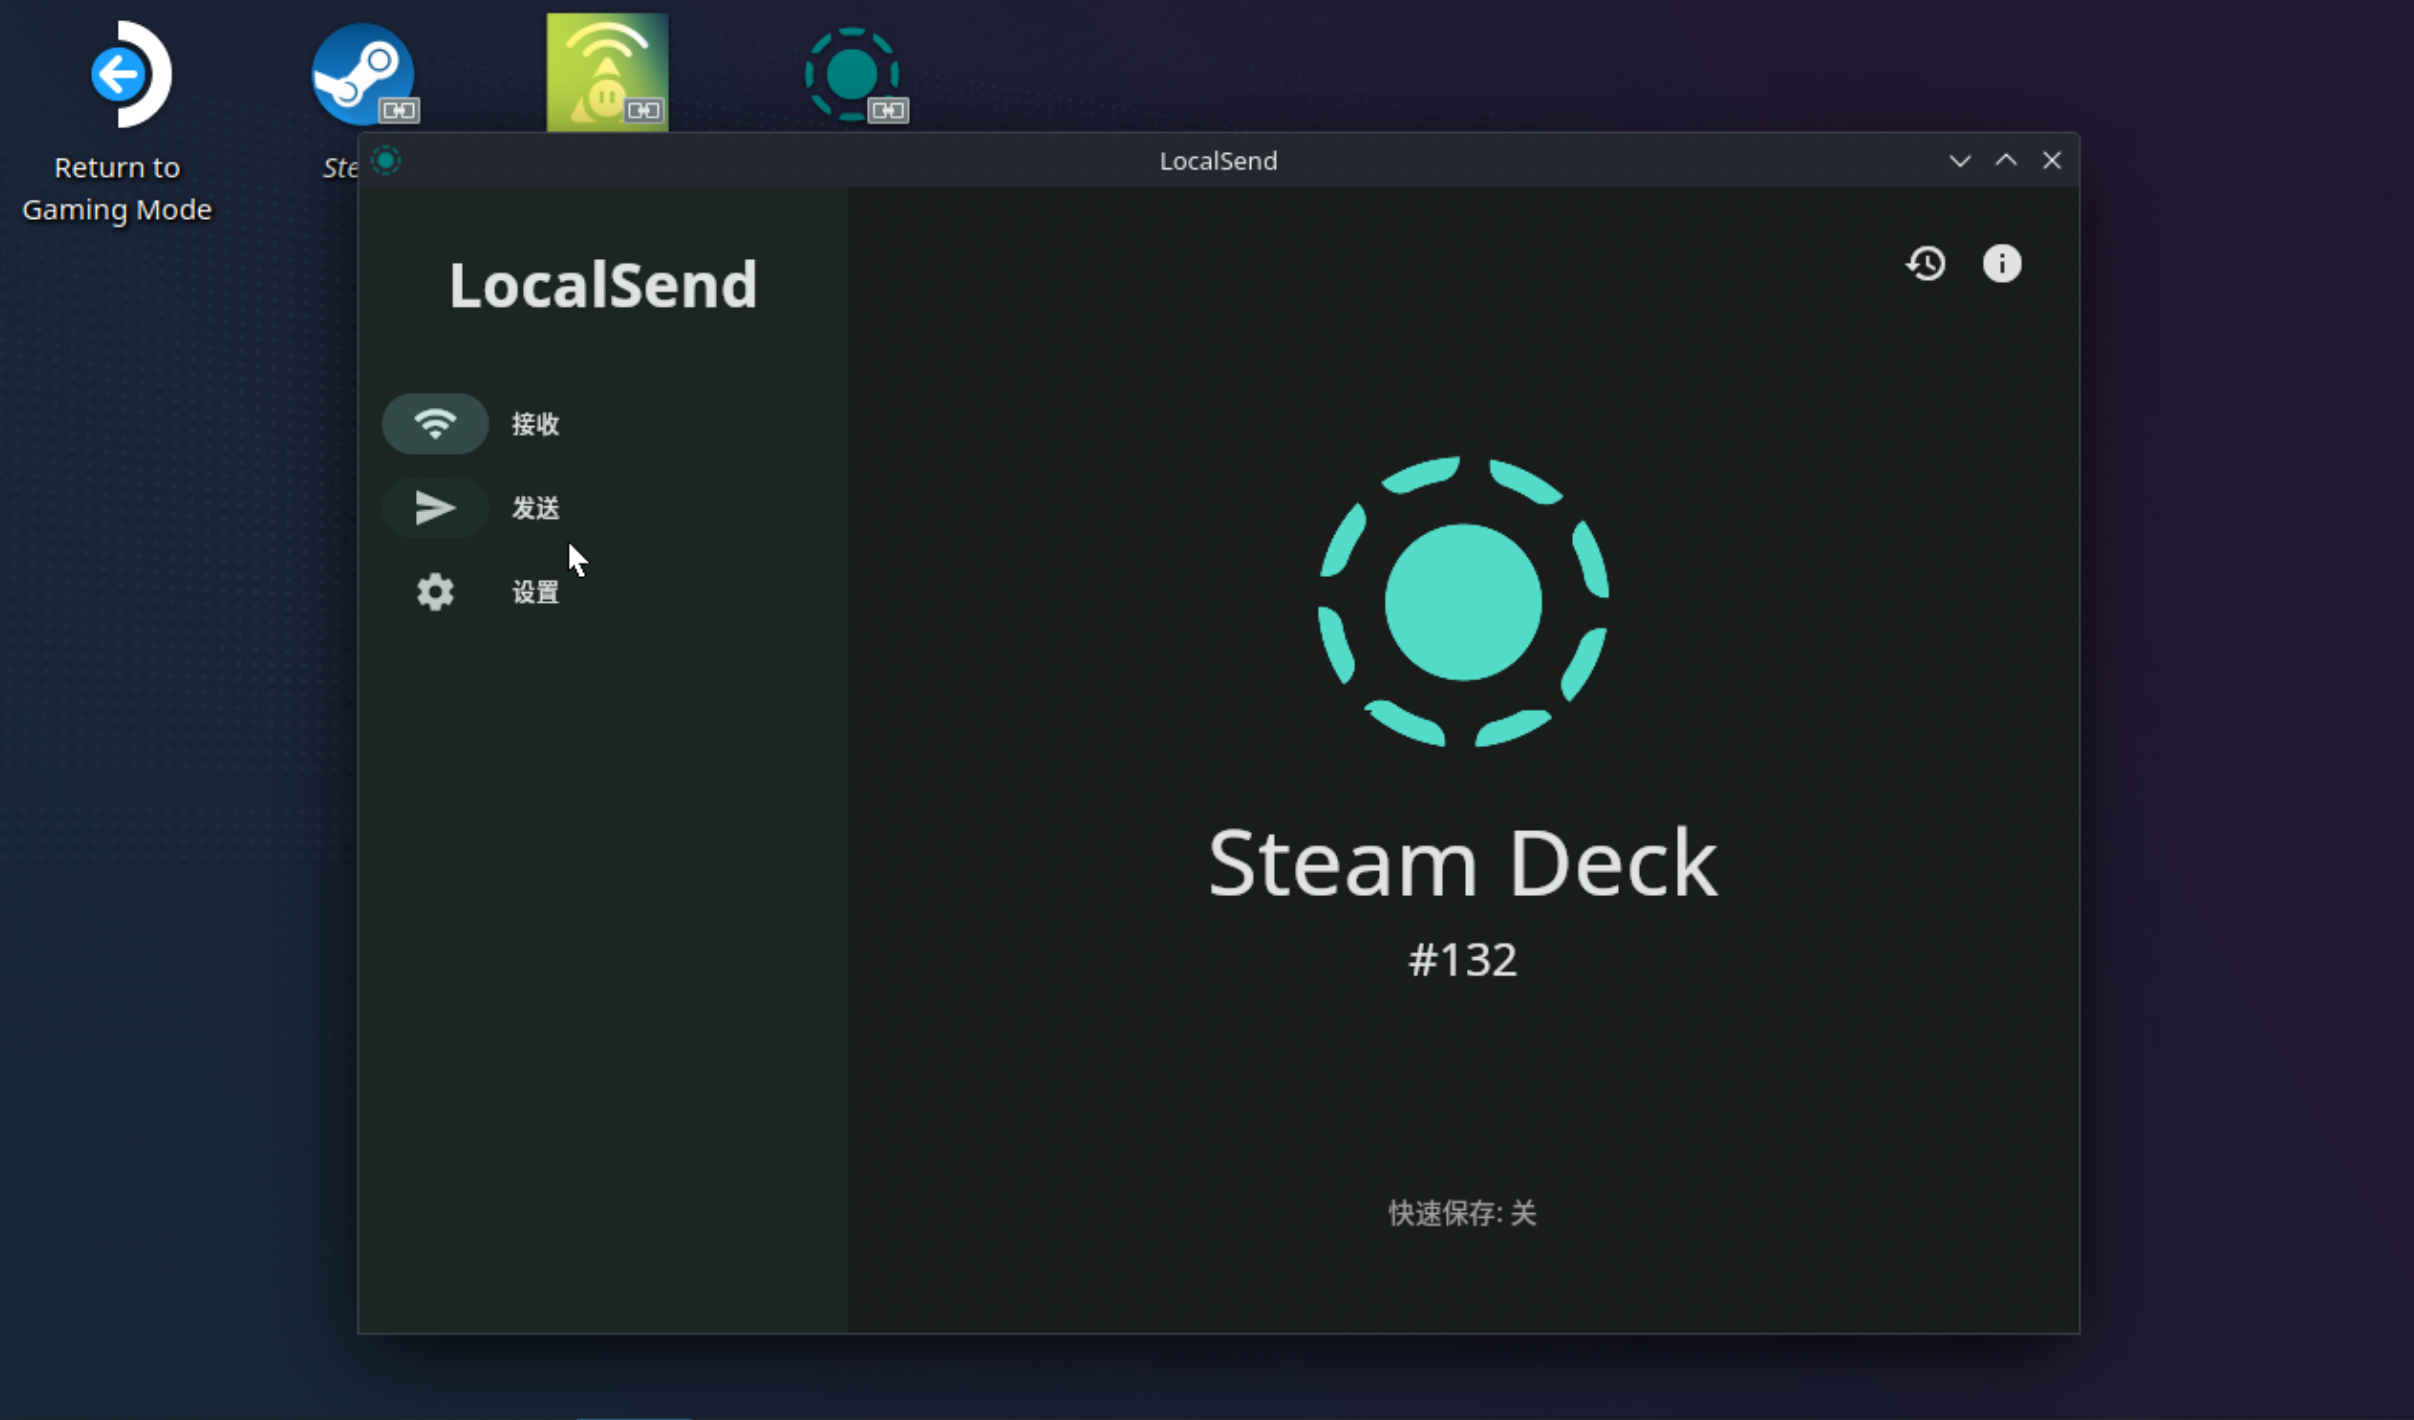
Google Chrome
Directly install it through Discover.
Decky Loader
Decky Loader is a plugin store in Gaming Mode, you can press ... button to find it after installation.
Official Site: https://decky.xyz/
GitHub: https://github.com/SteamDeckHomebrew/decky-loader
Install Decky Loader
Firstly, Do the following things:
Switch to
Gaming Mode,Push
STEAMButton, ChooseSettings, findDevelopment Modeand enable it, Your menu has a new option:Developernow.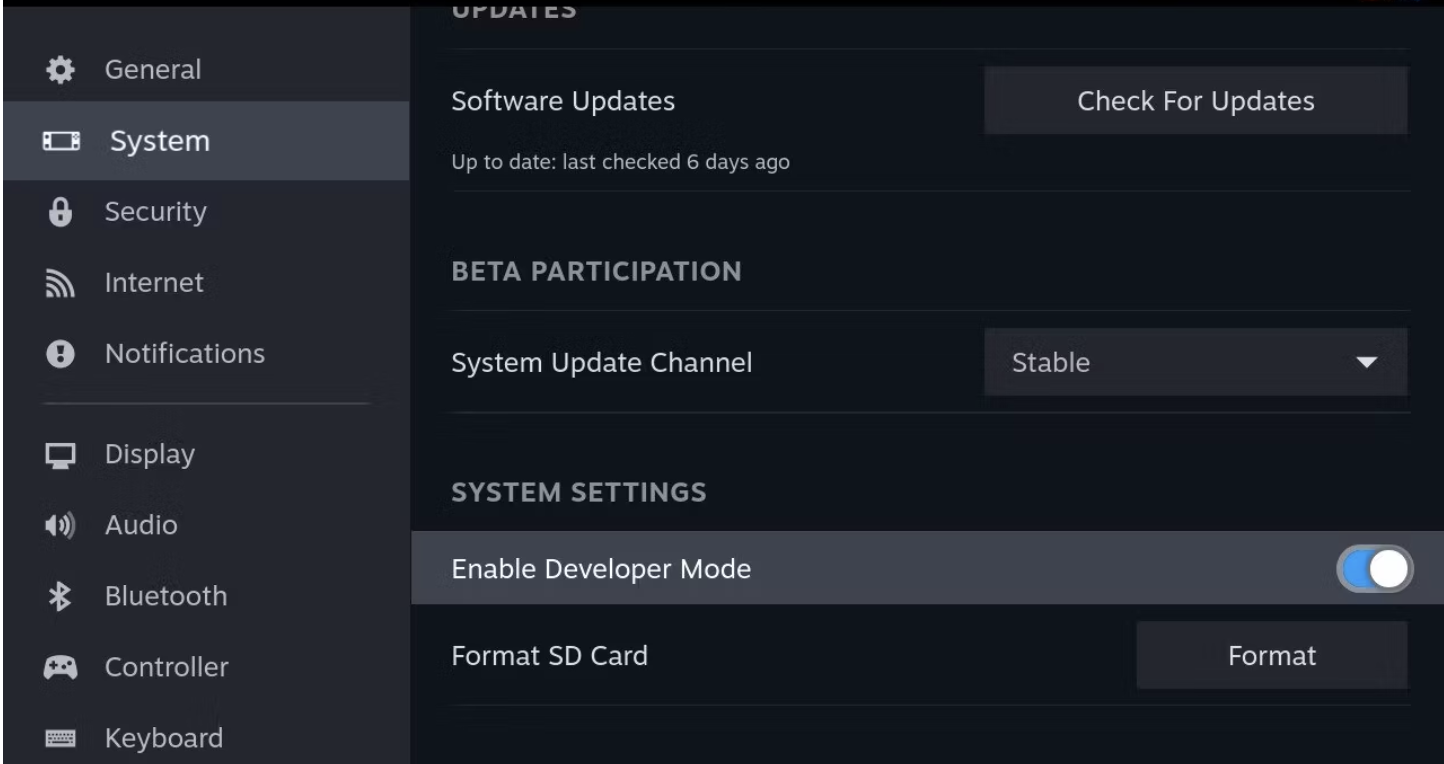
Choose
Developer, findCEF Remote Debuggingand enable it.Restart Steam Deck (Reboot).
After reboot, Your device will enter Gaming Mode defaultly, you need to switch back to Desktop Mode.
Then, you can choose either way:
- Download
decky_installer.desktop. - Or, fast install it using
Konsole.
# Official mirror
curl -L https://github.com/SteamDeckHomebrew/decky-installer/releases/latest/download/install_release.sh | sh

# China mirror
curl -L http://dl.ohmydeck.net | sh

# Local Script
# Find `install_decky_loader.sh` in https://github.com/Vincent-the-gamer/steamdeck-config, and download or copy it.
./install_decky_loader.sh
Finally, Switch to Gaming Mode and push ... button, you can see Decky menu.
Uninstall Decky Loader (if needed)
If you installed it with decky_installer.desktop, please choose uninstall decky loader in Application Menu, or search uninstall decky loader, just find it and run.
If you installed it with shell script, run:
# Local Script
# Find `uninstall_decky_loader.sh` in https://github.com/Vincent-the-gamer/steamdeck-config, and download or copy it.
./uninstall_decky_loader.sh
Notice
Sometimes, Decky disappear after SteamOS update, just reinstall it using the methods above, your config of plugins will keep.
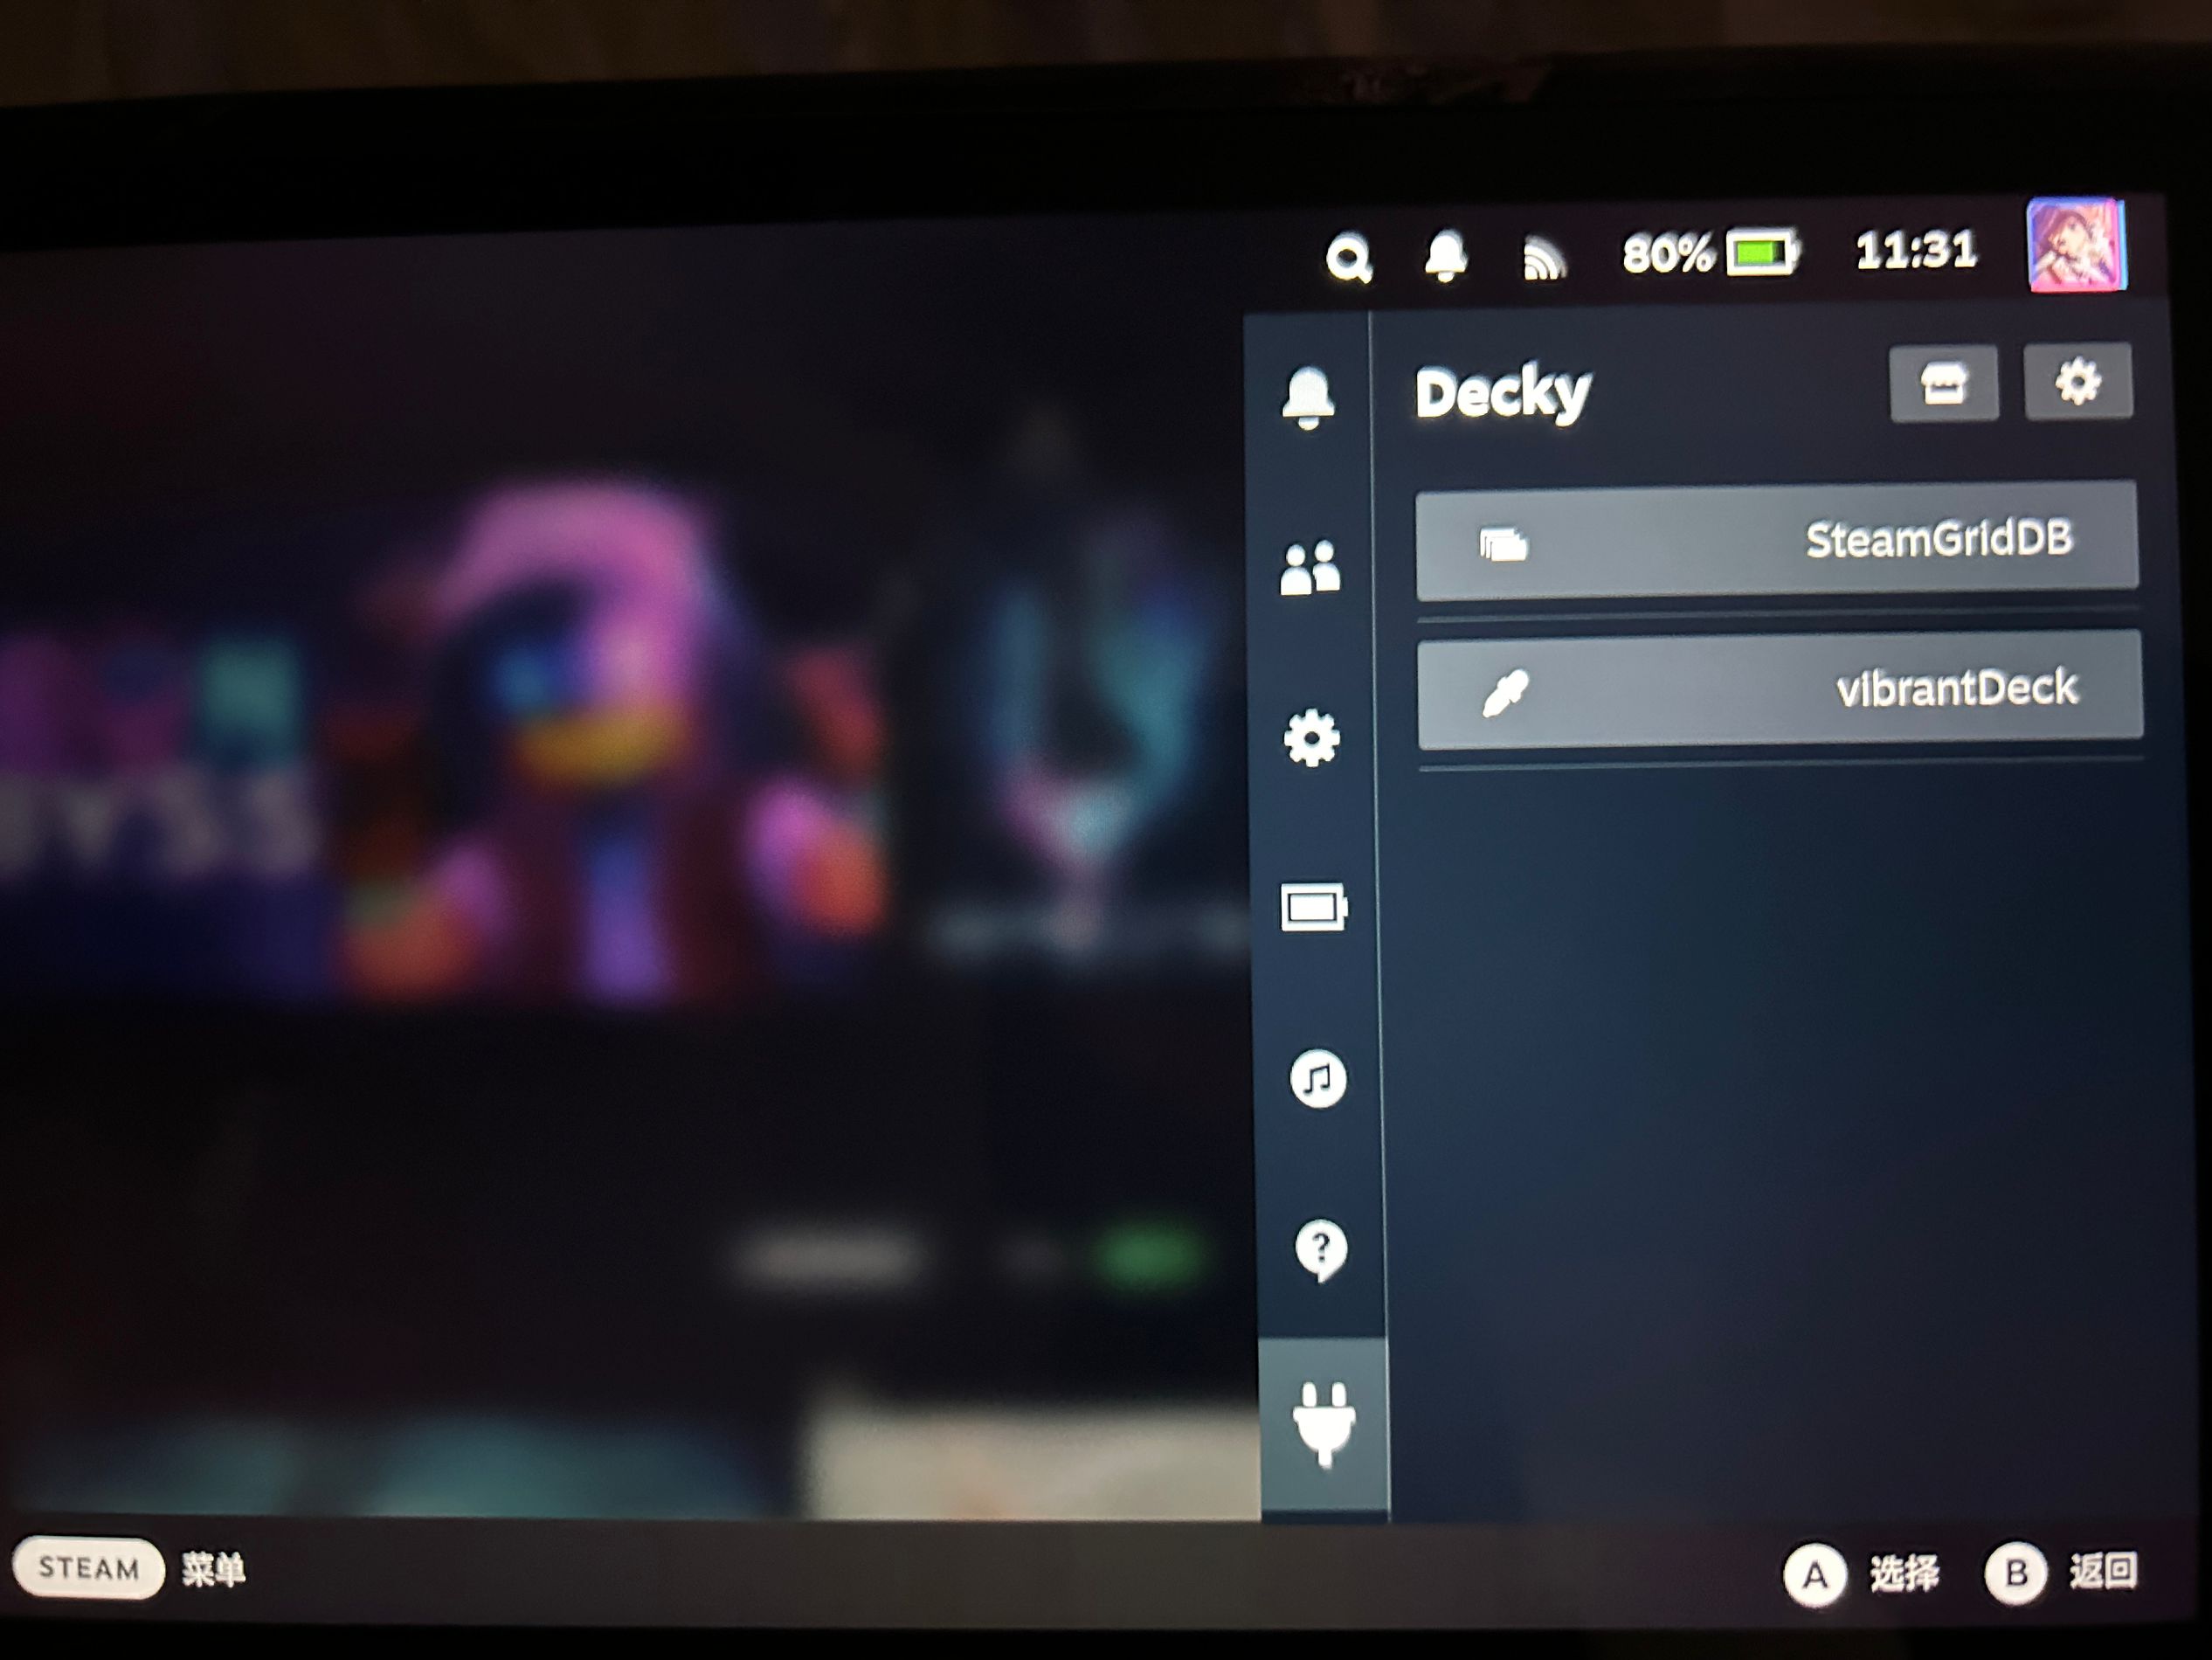
Plugins I currently use
SteamGridDB- Add artwork to your non-steam apps.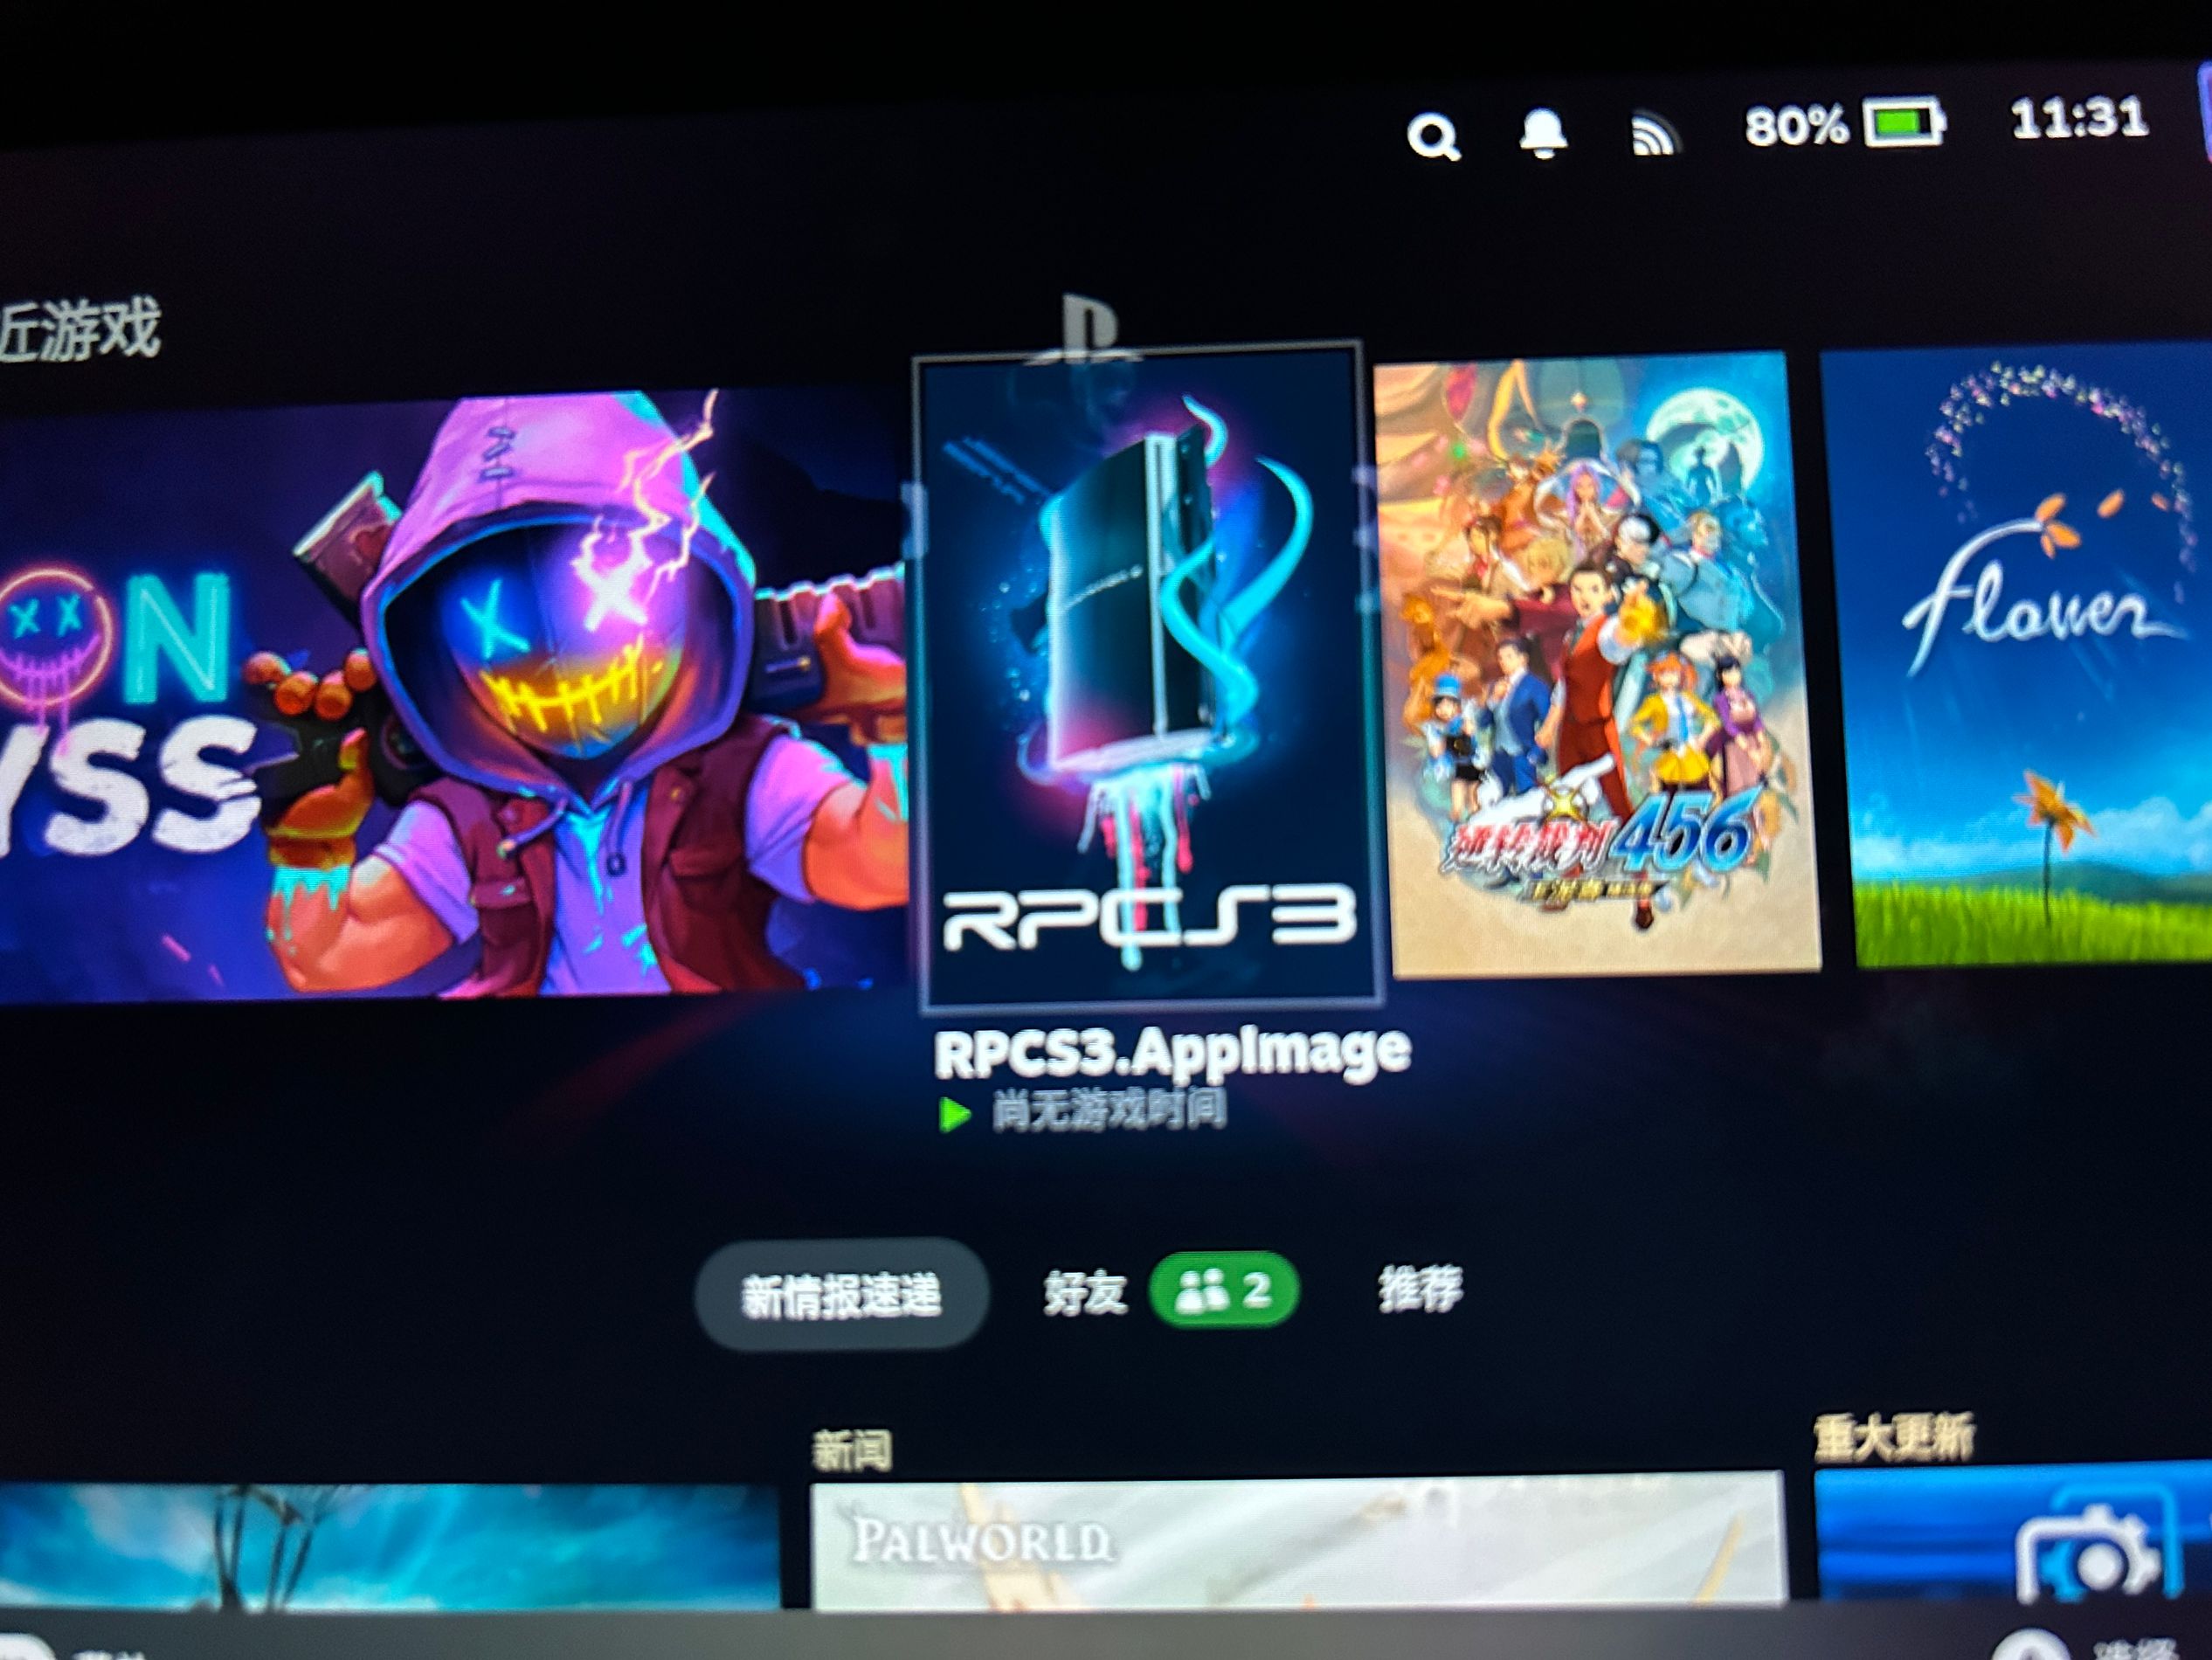
vibrantDeck- Change saturation of your screen.
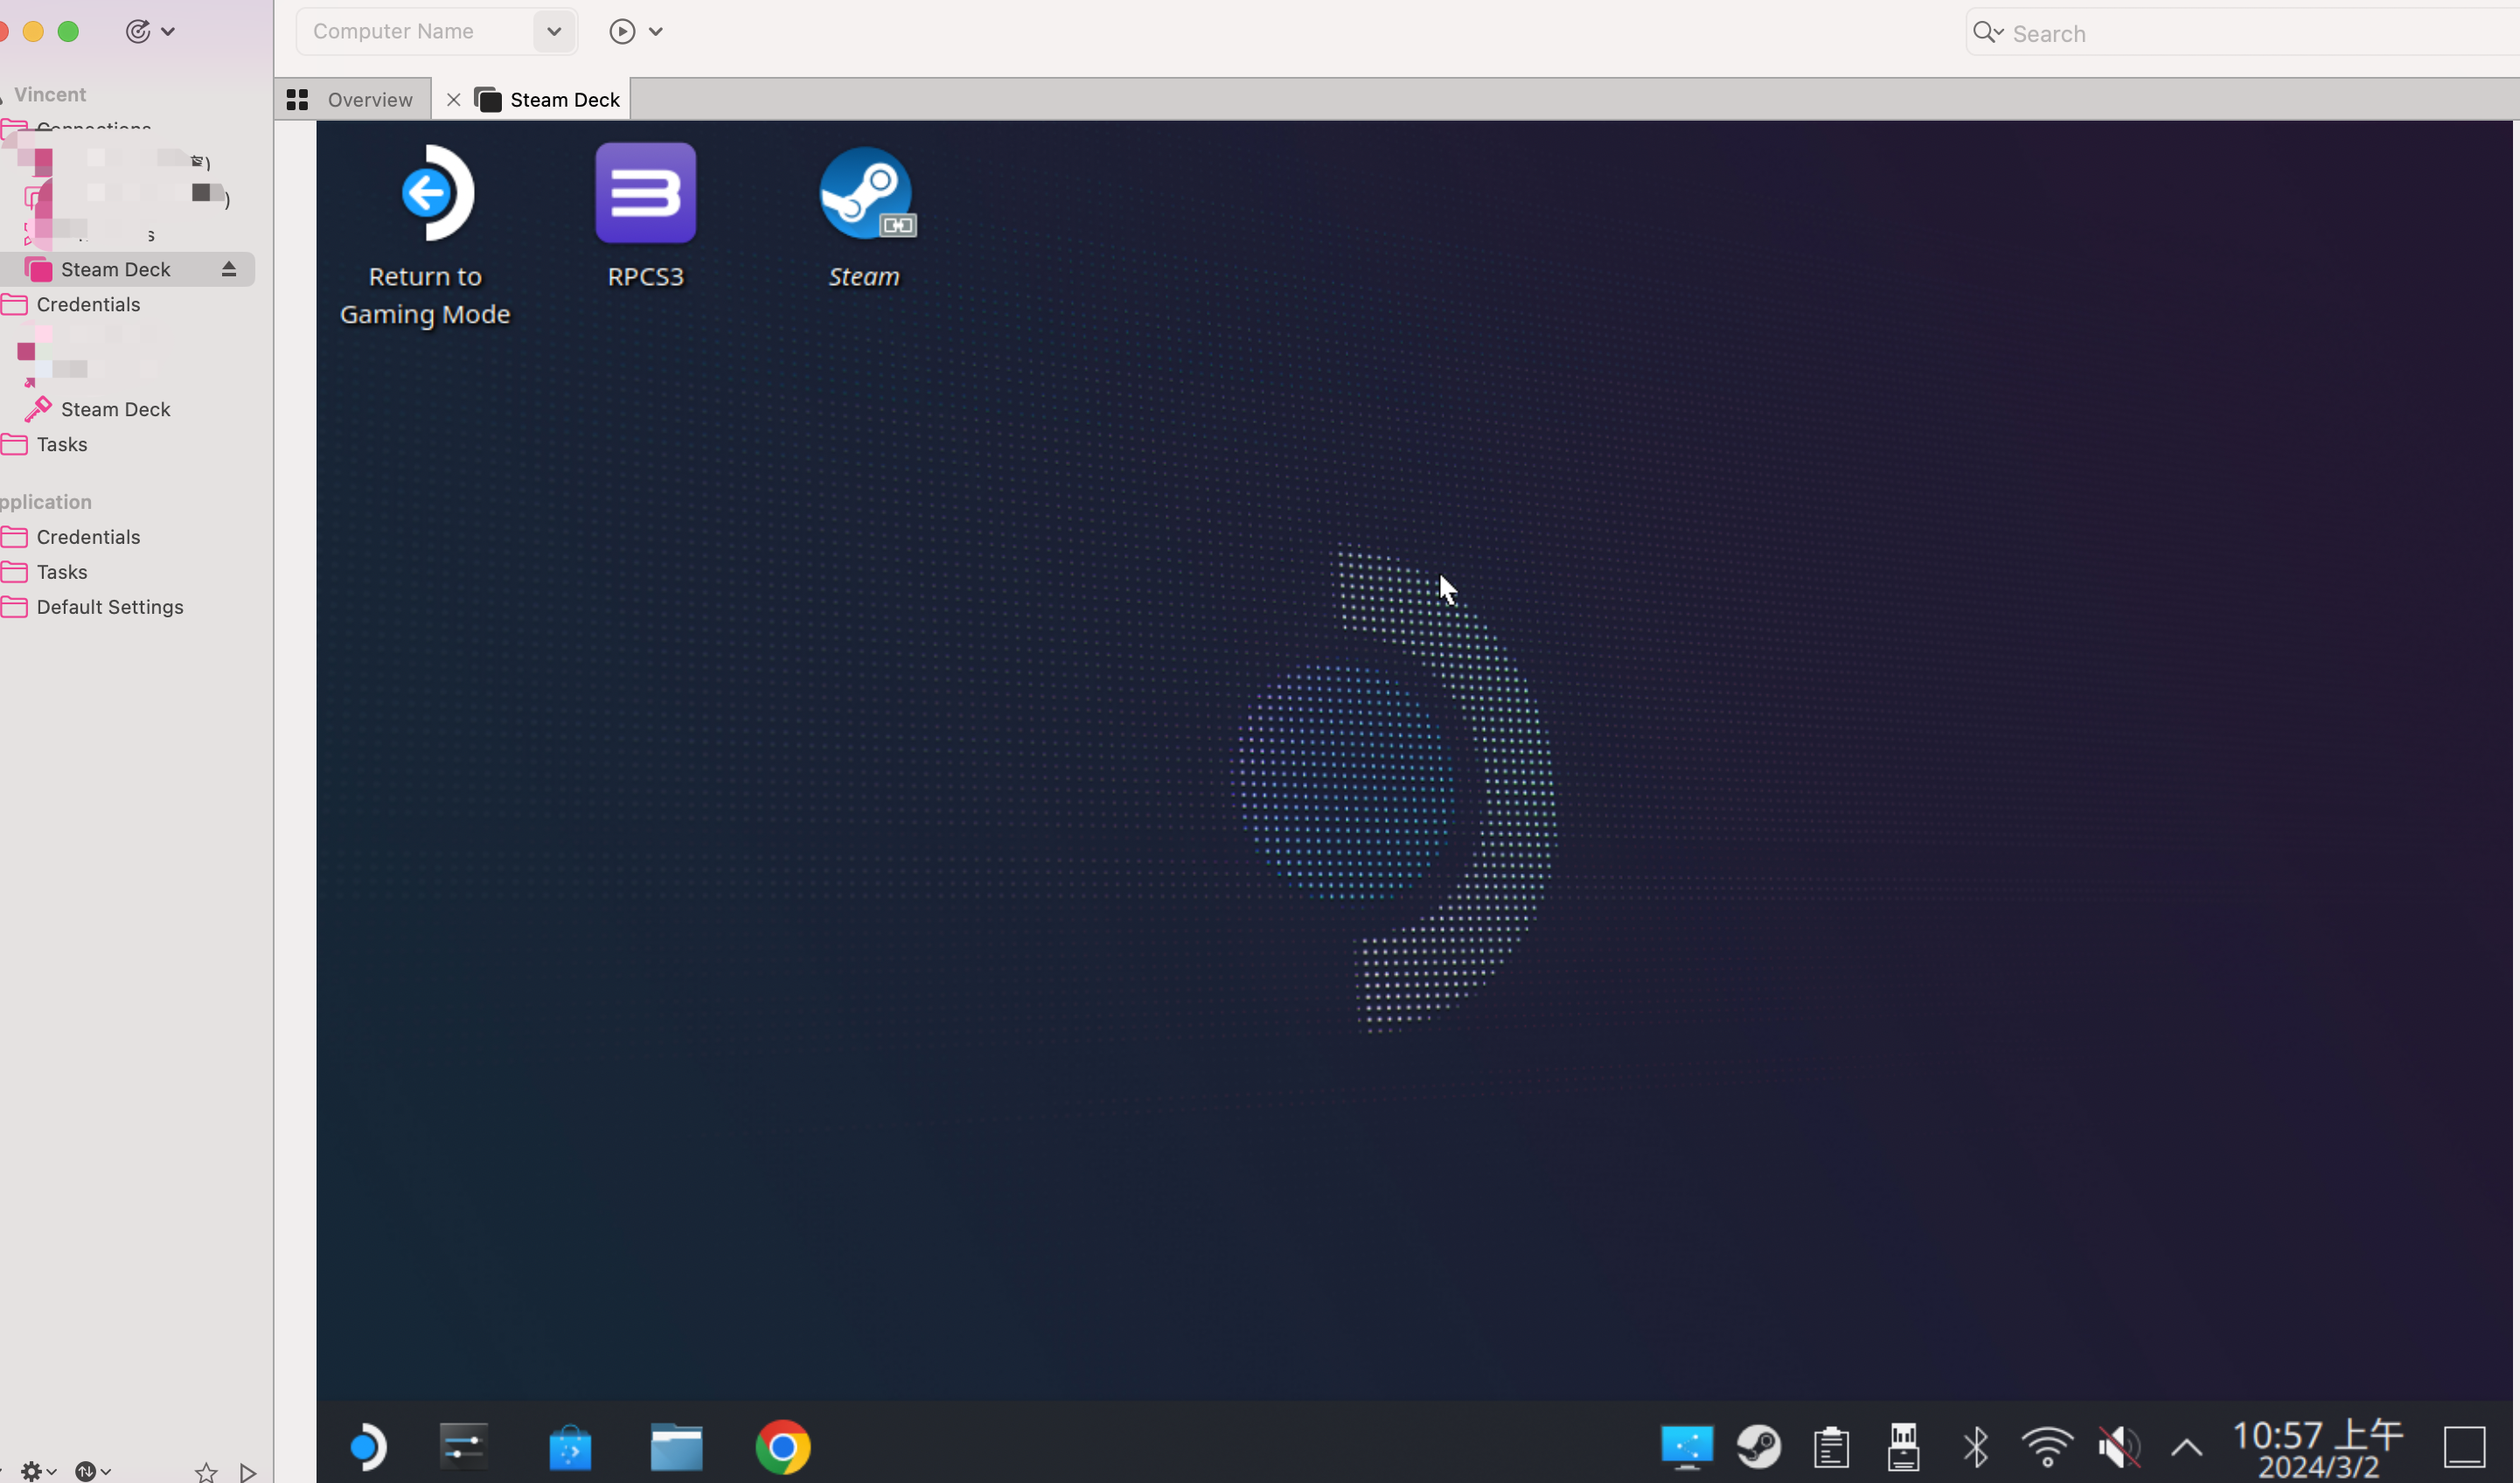
RPCS3 (PS3 Emulator)
See this part in my repo: https://github.com/Vincent-the-gamer/linux-rpcs3-quickstart
Chiaki4deck (Stream play PS4/PS5 games)
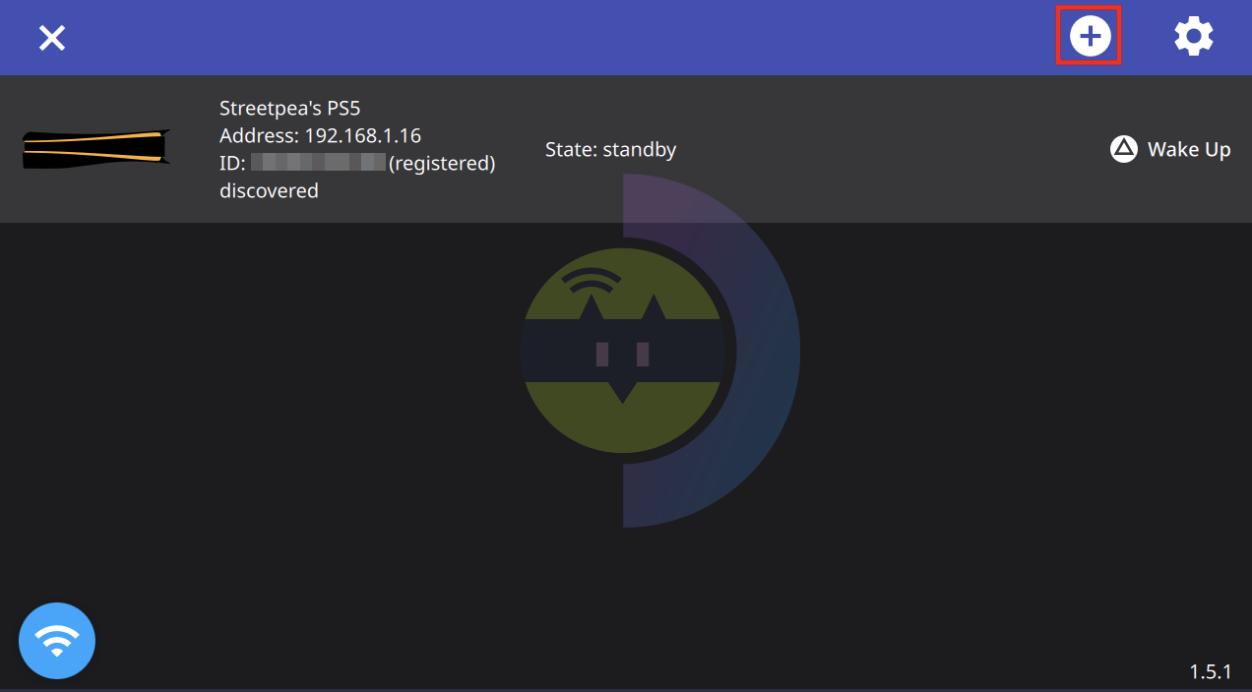
Installation
Search and install it in Discover(Desktop mode).
Configuration
See: https://streetpea/images/posts/steamdeck/.io/chiaki4deck/setup
Recommended video config:
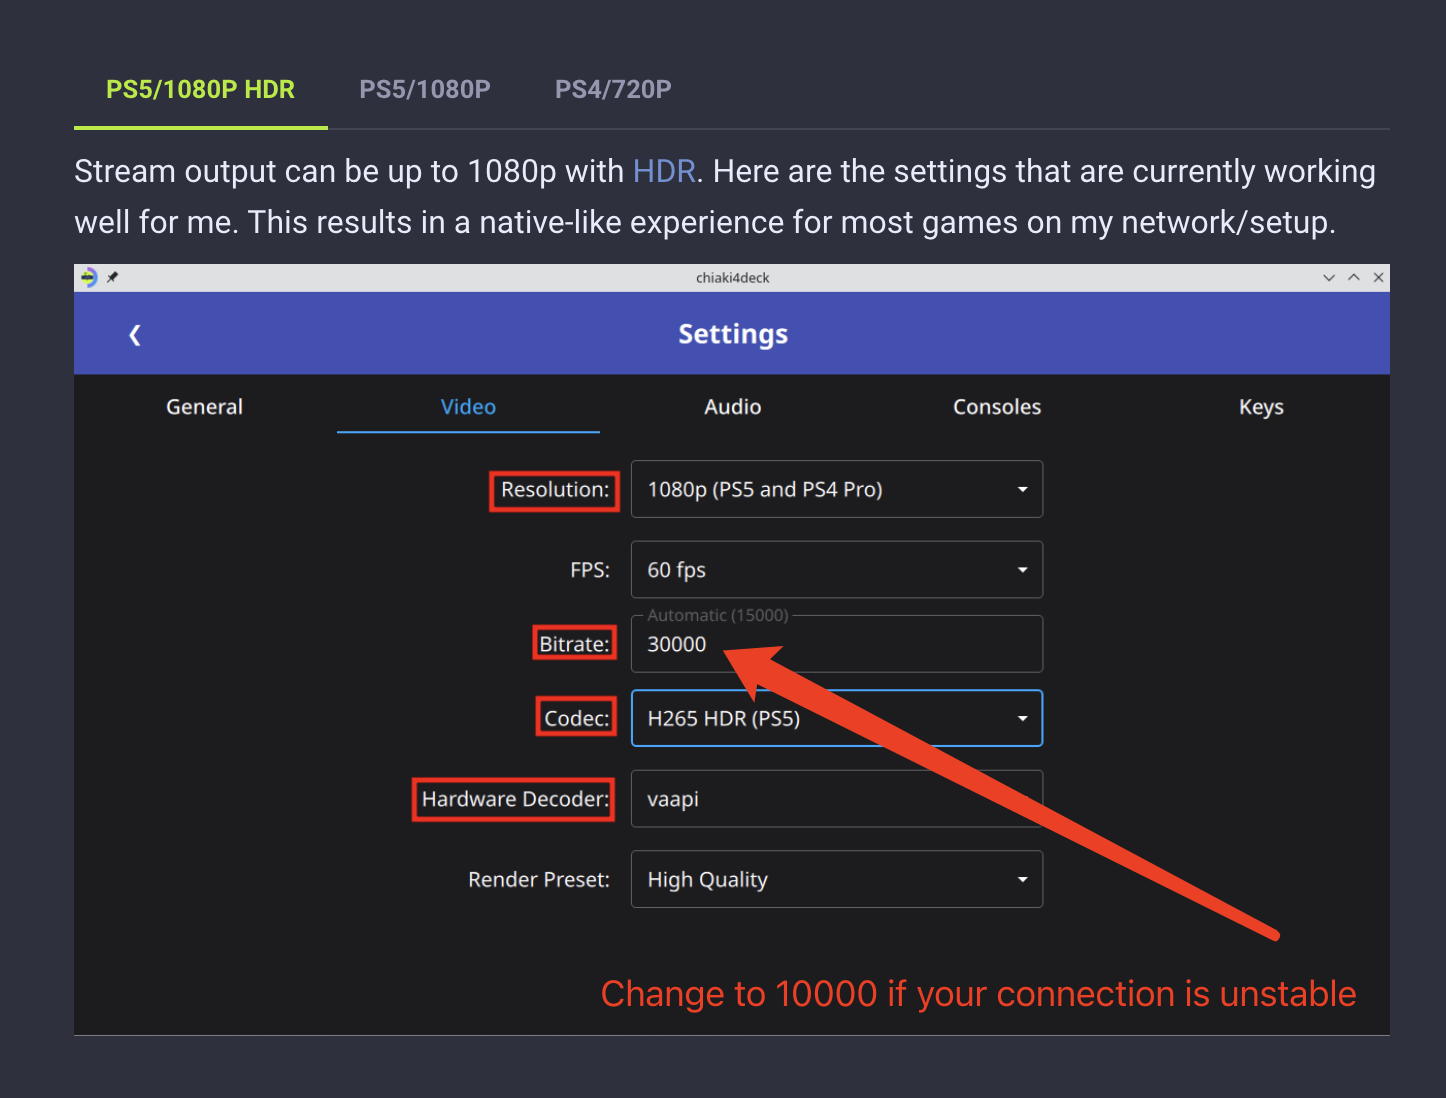
Change the bitrate to 10000 if your connection is unstable or slow.
Note
To get your base64 PSN account for chiaki, See https://psn.flipscreen.games/
Extra
EmuDeck
EmuDeck is a collection of retro game emulators.
Installation
Important
If there’s some internet issue at some place, you will need proxy!
Prepare proxy(if needed)
Install Clash:
sudo pacman -S clashInitialize the config file firstly, run this command in Konsole:
clashThen, copy your config file to your Deck, in ~/.config/clash folder, and name it config.yaml(overwrite original file).
If MMDB initialization failed, download Country.mmdb file in this link, then rename it to: Country.mmdb, put it in ~/.config/clash folder.
Re-run clash command。
Download EmuDeck installer and configure
Download: https://www.emudeck.com/#downloads
Choose SteamOS, then get a Install Emudeck.desktop file.
Open it with any text editor:
[Desktop Entry]
Comment[en_US]=
Comment=
Exec=sh -c 'curl -L https://raw.githubusercontent.com/dragoonDorise/EmuDeck/main/install.sh | bash'
GenericName[en_US]=
GenericName=
MimeType=
Name[en]=Install EmuDeck
Name[es]=Instalar EmuDeck
Name=Install EmuDeck
Path=
StartupNotify=false
Terminal=true
TerminalOptions=
Type=Application
X-DBUS-ServiceName=
X-DBUS-StartupType=
X-KDE-SubstituteUID=false
X-KDE-Username=
Modify Exec command to use proxy:
Exec=export https_proxy="http://127.0.0.1:7890" && sh -c 'curl -L https://raw.githubusercontent.com/dragoonDorise/EmuDeck/main/install.sh | bash'Save file and run it.
BIOS download and copy
Important
Due to copyright, the emulators don’t provide BIOS.
BIOS Download:
Link:Baidu Net Disk
Extract Code:arte
BIOS location:
- Internal Disk:
/home/deck/Emulation/bios - SD/TF Card:
/run/media/<your_sd_card>/Emulation/bios
Game rom location:
- Internal Disk:
/home/deck/Emulation/roms - SD/TF Card:
/run/media/<your_sd_card>/Emulation/roms
Caution
For BIOS, copy What's in system folder, not the folder itself.
Keys-16-by-Prodkeys.net.zip and Firmware_16.0.0.zip is for Switch Emulator,if you use Ryujinx or download Switch emulator from Steam Store, you will need them.
Emudeck Shortcuts:
- Quick leave:
SELECT + START - Accelerate game:
SELECT + R2 - Quick save:
SELECT + R1 - Quick load:
SELECT + L1
(SELECT is the button above the left analog stick.)